Youtube is such an amazing source for aspiring ”photographers” like me who are eager to learn as much as possible about photography and Photoshop editing. And who can’t afford too many expensive photography or Photoshop courses. The more I learn about editing, the more I am starting to enjoy that just as much as taking the actual photo. You can have so much fun with Photoshop. It is an art tool in itself!
Through a blog I follow of a young (Swedish) girl, Nevnarien, who is a great photographer and inspiration for me, I found this Youtube tutorial about adding snow to your photos by creating a snow brush in Photoshop.
[youtube https://www.youtube.com/watch?v=yP7qiZIuTA0]
I tried it on a photo I posted in this entry and another photo from the same day that I discarded, because the slow shutterspeed blurs out the snow so it just looks like a mist instead of snow. I of course need to practise to get the best effect, but let me show you the before and after photos. Which versions do you prefer? 🙂
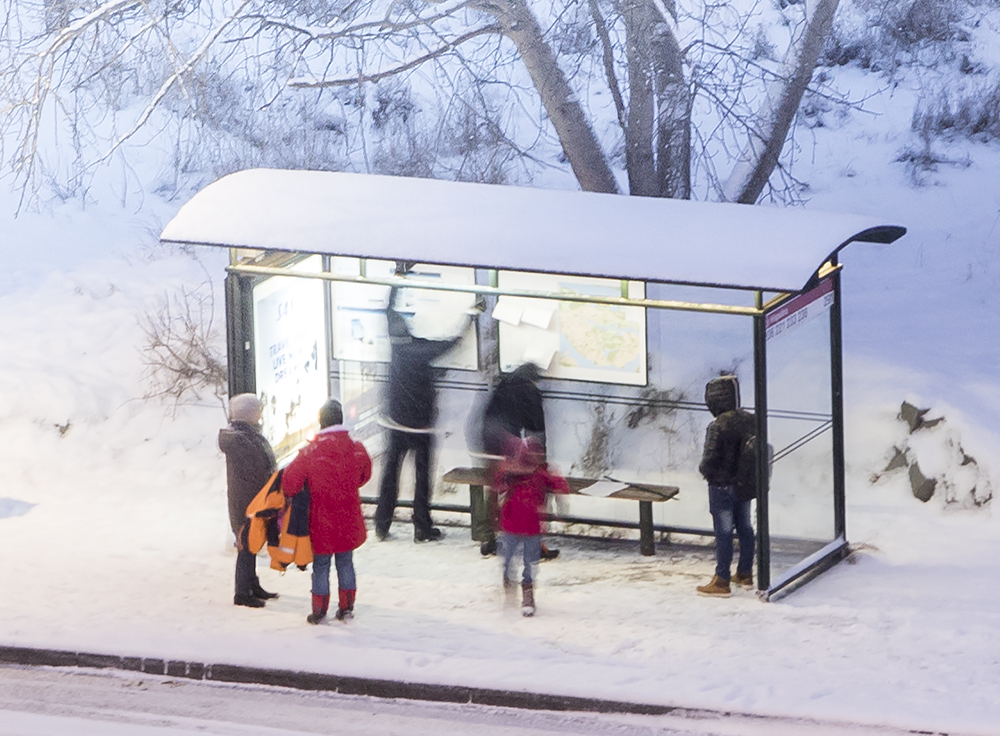
Before – here the snow also has disappeared through slow shutterspeed.

After. As it is usually most visable in darker areas I put most of the painted-on snow on those parts and adding motion blur to make it look like heavy snowfall.
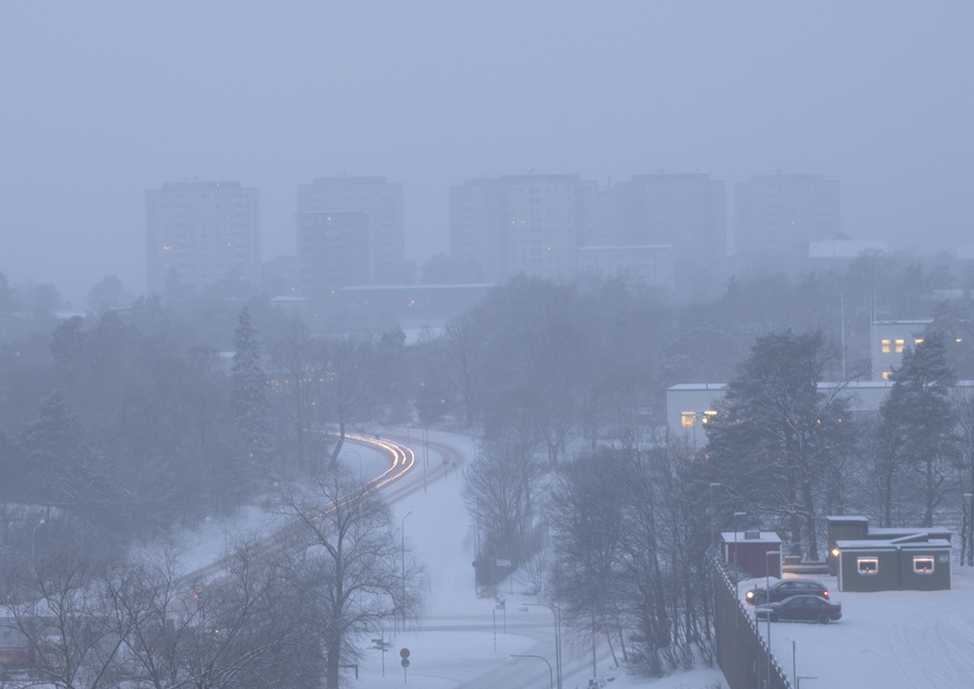
Before. Mist.
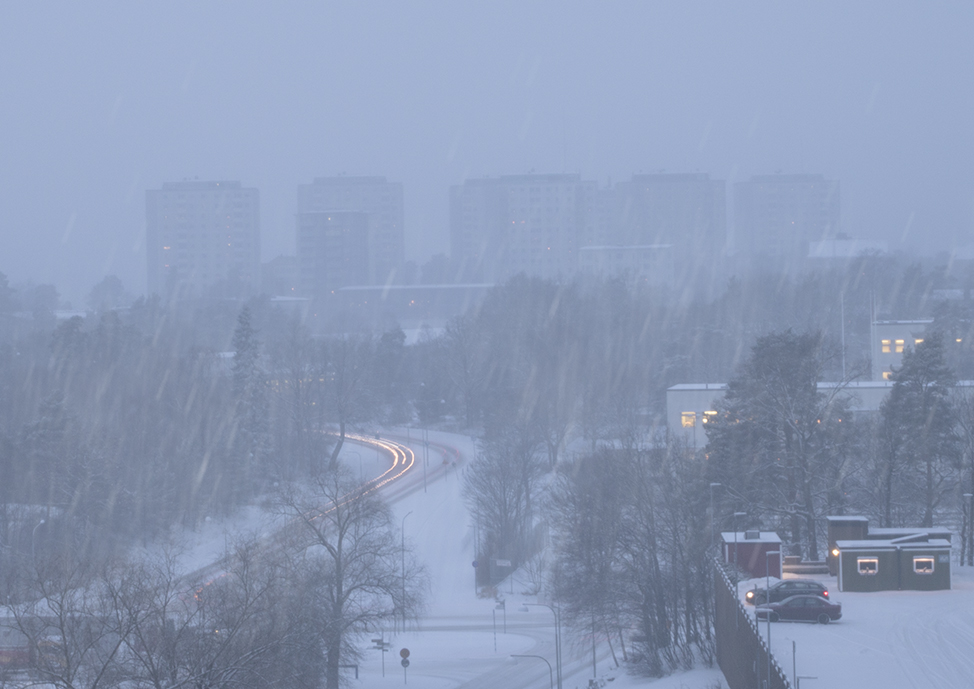
After. Snow? Motion blur, Gaussian blur and different layers.
I need practice but it is a cool effect. How do you like them?
Stay tuned for the tree project this afternoon on this English Tuesday! 🙂 Today’s theme is black and white texture.
En kommentar
I agree- youtube can be a great learning resource- especially for those of us on a budget! I really like how you have added the heavy snow effect to the previously misty photo, it looks really good x